FDM 3D printing explained: how it works and what it is good for
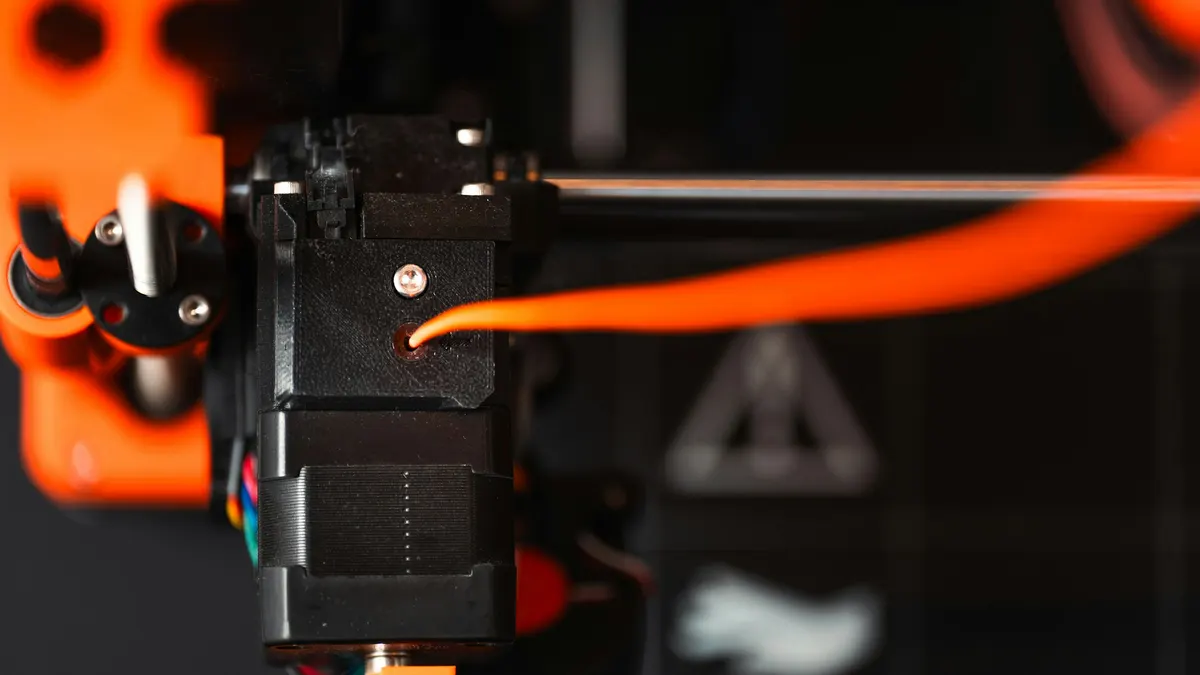
FDM stands for fused deposition modelling. It is the most widespread way to 3D print plastic parts, and it is the only process we use. This guide explains how it works, what it does well, where it has limits, and how to tell whether it fits your part.
How FDM works
A printer feeds a thermoplastic filament into a heated nozzle, commonly 0.4 mm wide. The plastic melts, is pushed out as a thin line and is laid down on a build plate. The nozzle draws one layer; then the distance between nozzle and part grows by a fraction of a millimetre and the next layer goes on top of the last. Typical layer heights are between 0.1 and 0.3 mm. Thinner layers give a smoother surface but take longer, so layer height is one of the main trade-offs between quality and time.
Where a part overhangs and has nothing underneath, the printer builds temporary supports that are removed afterwards. The way the part is turned on the plate decides how many supports it needs and how strong it will be, which is why orientation is part of every print plan.
What FDM does well
- Functional parts in durable engineering plastics, not only visual models.
- Fixtures, jigs and tooling aids that make production easier.
- Enclosures, housings and brackets made in a single piece.
- Large parts, printed in one piece or in sections that are joined.
- A low cost per part, because there is no tooling to pay for.
- Fast iteration: change the file, print again and compare versions within days.
Because no mould or cutting tool is needed, there is no tooling cost to spread over the parts. File review and job setup are fixed costs, so a very small order costs more per part than a larger one, but FDM is still a natural choice for prototypes and small batches.
Where FDM has limits
Layer lines are visible on most surfaces, although sanding and painting can hide them. A printed part is weaker between layers than along them, so the direction of the load matters. As a generic rule of thumb, a well-tuned FDM printer holds around ±0.2 mm or ±0.5 % of the dimension, whichever is larger. This is a general figure for the process, not a promise for any specific part.
Fine details are limited by the nozzle width, so features much narrower than 0.4 mm will not appear. Overhangs steeper than about 45 degrees need supports, which can leave marks on the surface they touch. Holes come out slightly small and sharp inside corners are slightly rounded, which a good design allows for in advance.
Materials for FDM
We mainly print with four materials. PLA is rigid and easy to print, good for models, prototypes and indoor parts. PETG is tougher and handles moisture and chemicals better, which makes it a sound default for fixtures and housings.
ABS withstands more heat and can be sanded and painted. TPU is a flexible, rubber-like material for gaskets, grips and bumpers. The materials page lists them side by side, and our comparison guide explains how to choose between them.
When FDM is not the answer
If you need a very fine, glossy surface straight from the machine, or moulded-grade uniformity across thousands of identical pieces, FDM is not the best fit and we will say so. For large quantities the better question is usually whether to print or to make a mould; we compare 3D printing and injection moulding with a simple break-even calculation.
What a typical FDM job looks like
Seeing the steps makes it easier to understand where the time and the cost go.
- The file is reviewed for printability: walls, overhangs, dimensions and orientation.
- The slicing settings are chosen: layer height, number of walls, infill and supports.
- The part is printed, which takes from under an hour for a small part to a day or more for a large one.
- Supports are removed and the part is cleaned.
- Finishing is applied if requested: sanding, priming, painting or assembly.
- The part is inspected against the drawing and delivered.
Infill and strength
Printed parts are usually not solid inside. The outer walls are solid, and the inside is filled with a pattern at a chosen density, commonly 20-40 % for general parts. For strength, the number and thickness of the walls usually matters more than the infill, which is why thin-walled parts are fragile even at a high infill setting. A part that carries a high load is printed with thicker walls and denser infill.
Does FDM fit your part?
A quick check: the part is plastic, it needs to work or be tested rather than only look good, you need a single piece or a small batch, and a visible layer pattern is acceptable or can be sanded away. If most of these are true, FDM is probably a good match. If you are not sure about one of them, that is the question to ask before you spend money.
Have a part in mind? Send us your file and we will tell you honestly whether FDM suits it.
Cover photo: Jakub Żerdzicki(opens in a new tab) on Unsplash(opens in a new tab).