3D printing or injection moulding: which is cheaper for a small batch
For a small batch, the cheapest process depends on one thing: how the cost is split between making the tool and making each part. This guide compares 3D printing with injection moulding and shows a simple calculation you can repeat with your own numbers.
The real difference
Injection moulding needs a mould, which is a large upfront cost, and after that each part is cheap. FDM printing needs no tooling, so the cost is almost entirely per part. The two cost curves cross at some quantity, and below that quantity printing is cheaper.
The break-even calculation
Total cost is the tooling cost plus the quantity multiplied by the price per part. The numbers below are illustrative only, in any currency, to show the method. Real figures depend on the size and complexity of the part and on the supplier.
| Item | Injection moulding | 3D printing |
|---|---|---|
| Tooling | 6,000 | 0 |
| Price per part | 1 | 12 |
| Cost of 100 parts | 6,100 | 1,200 |
| Cost of 545 parts | 6,545 | 6,540 |
| Cost of 1,000 parts | 7,000 | 12,000 |
The break-even point is the tooling cost divided by the difference in price per part: 6,000 / (12 - 1), which is about 545 parts. Below that quantity printing wins; above it, the mould pays for itself. Replace the three numbers with real quotes and the same line of arithmetic gives your own answer.
Lead time
A mould usually takes weeks to design and make, and any change to the part means changing the tool. Printing takes days, and a design change is just a new file. If the deadline is tight, this difference can matter more than the price per part.
Design freedom
A moulded part needs draft angles, fairly even walls and shapes that let the tool open. A printed part has no such limits, so you can merge several pieces into one, add internal channels and revise the design as often as needed without paying for a new tool.
Material and strength
Moulded parts are uniform in all directions. FDM parts are built in layers and are weaker across them, as our guide to how FDM works explains. For a part that carries load, the direction of the layers needs to match the direction of the force, and the surface may need sanding if the finish matters.
Bridge production
You do not have to choose once and for all. Many teams print the first batch while the mould is being made, then switch to moulding when the design is stable and the volume is proven. The printed parts also serve as a final test before the tool is cut, which is the cheapest moment to find a mistake.
Costs people forget
A fair comparison includes more than the tool and the price per part.
- Mould changes: every design revision after the tool is cut costs money and time.
- Minimum order quantities, and the stock you have to hold and pay for if you order more than you use.
- Storage and maintenance of the mould itself.
- Scrap and set-up parts at the start of every run.
- The cost of waiting: a delayed product launch often costs more than the parts.
Printing on demand reduces the stock you carry, because you order the quantity you need now and make more when the need returns.
Which parts suit which process
Brackets, jigs, housings and spare parts in the tens or low hundreds are natural candidates for printing. Thousands of identical, thin-walled parts with a smooth surface are what moulding does best. Between those two extremes, the break-even calculation above gives a first answer, and the checklist below covers the rest.
When printing wins even at larger quantities
Some situations favour printing whatever the quantity. A part that changes with every order, a family of variants that would each need their own mould, a spare part for equipment whose tool no longer exists, or a part so large that a mould would be very expensive: in all of these the flexibility of printing is worth more than a lower price per part.
Questions to ask for both quotes
- What exactly is included: the mould, samples, the finish, inspection and delivery?
- What does a design change cost, and how long does it take?
- What is the minimum order, and what happens to the tool afterwards?
- How are the parts checked against the drawing?
Decision checklist
- Quantity: well below the break-even point favours printing, and well above it favours moulding.
- Revisions: if the design will change, avoid paying for a tool you may need to modify.
- Strength: check that a layered part can carry the load.
- Surface: decide whether a visible layer pattern is acceptable or can be sanded away.
- Deadline: count weeks for a mould and days for printing.
Not sure where your part falls? Send us your file with the quantity and we will help you work it out.
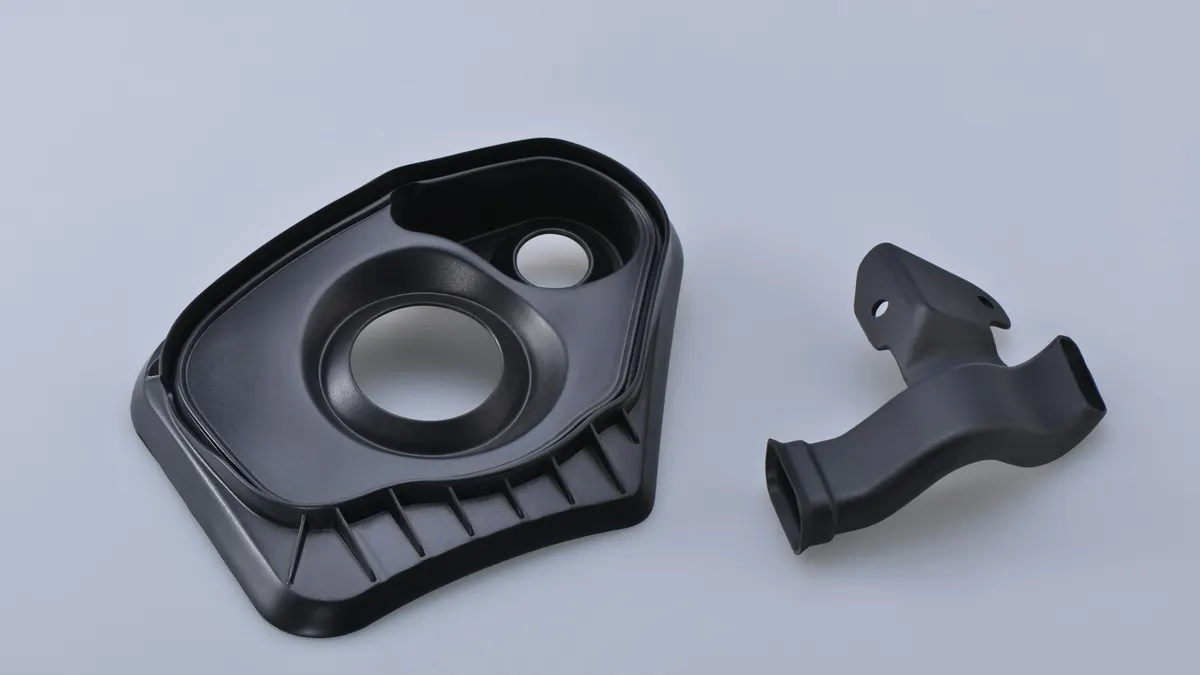
Cover photo: Mastars(opens in a new tab) on Unsplash(opens in a new tab).